Wednesday, March 26, 2014

Insulation - So easy a caveman can do it.

Well now I will have to rate the skill level at putting in insulation at 1-2; you do need to know how to use a good knife and I recommend a carpet knife because they stay sharp and are comfortable to handle for extended periods.  This is easily done as a one man or woman project with just the knife and tape measure.

This was a fun part of putting the trailer back together.  Before I got too far I took the marine sealant and sealed the seams a task I asked be done as they put the trailer together but then he didn't even use the glue I provided for our build instead he used a cheap glue, oh well fixed now and on to better.  I had my radio going and had a good time fitting the pieces in place like Tetris, not a piece went to waste even the small scraps I found places for.  I've used 1 1/2 sheets and I have three ceiling spaces and the wall between the galley and cabin left to insulate.  I have one more sheet but I'm not sure if I'll need it, so for $30 and about an hour you can keep warm and knock down noise in your trailer..... pretty good return on that investment.

I'll have to tell you how this improves sleeping in it after this weekend.  It was too cold without it and as I put it in the cabin felt warmer and quieter.  Our next step is laying the skin inside then on to building new cabinets and shelves and believe me they will now be made with 2.5mm plywood.

Ladies don't be afraid of building a teardrop on your own.  This is truly the way to get what you want and not get taken to the cleaners.


Tuesday, March 25, 2014

Electrical - the monster tamed.

Well this last week was a big one, I've been sick so it gave me plenty of time to research, read, and learn.  I went straight to the teardrop forums for help and guidance here for this project.  I found lots of helpful advice and an outline of how and what gauge needed to be used for each device.  I will admit this part had me stressed because..well it's electrical.  After we had the teardrop guru look everything over for us and told us it was savable we set our plan of what needed to be done and in what order.

First off we of course had to remove the ceiling and sides, we tried to keep as much as we could undamaged but Crybaby used so many staples there was no saving any of the ceiling, this is where we learned there was no insulation.  As we took apart the cabin shelf which the bottom was only 2.5mm plywood stapled on we found this carried into the galley as the shelf bottom there too.  The galley shelf was made up of the bottom stapled to a shelf face held on with two screws into the frame.  I was upset about removing this because I had already stained the galley and it had become my one happy place with the trailer and my sign of hope, but this was not going to hold up over time and in order to rework the wiring this had to come out.  It did make taking the walls out easier because we just passed them through this hole but it was a hard blow to my game plan.

Okay as we took the ceiling and walls out I started taking photos of the whole removal and everything we found and WOW!  I am so surprised we didn't catch fire.  Our running lights were connected with old extension cords they stripped and then they used wads of blue electric tape to connect them.  The cabin and galley wiring was a bunch of mismatched wire, I think whatever he had on hand.  The wires fed back to a small framed out rectangle stapled together; here all the wiring was wired into three (3) fuses, yes three.... now let's count here we have a porch light, cabin dome light, two reading lights, a galley light, and stereo, my count comes to five here not three and the ground wires were screwed together into the wood.  I stood and just shook my head and my husband and I started to laugh like Tom Hanks in the Money Pit.  I looked at the fuses and one was a 5 AMP, they should have been 15 - 20 AMP.  This may be why our stereo never worked.  Again I'm surprised we didn't catch fire.  Everything had to come out we were going to start from scratch.

I had ordered all the supplies I needed to tackle this, oh thank you Amazon you have been a go to place for supplies.  When my orders came in I hadBlue Sea Systems 5026 ST Blade Fuse Block with Cover, master kill switch, breakers, and quick connect parts, all the parts to lay proper wiring for the trailer.

I started with adding all the quick connect ends to all the light ends making sure they were all done the same.  I made all my hot leads from the lights male and grounds were female this way years from now if something needs to be changed we don't have to rely on wire color.  After I prepped the lights it was time to start laying my wire; starting with the porch light and the 14 gauge wire and ran yellow as my hot and black as my ground I jumped in with both feet.  I color coded at all the ends so each is easier to recognize at a glance.  I won't lie I ran into glitches and went through some connectors on this project and it took three days to complete.

As I made it to the galley we added the connectors to the mystery wire he had in the galley hatch because there was no way to take the hatch apart it was stapled, screwed, and riveted.  This was more unknown cord that looks like it was stripped from a lamp cord or something like it, we held our breath and tested it..... nothing, DANG IT!  Okay of all the places to go wrong this was the worst.  We checked everything and tried again, nothing so now to search the problem and work a solution. We pulled the bulb and swapped it with the working dome bulb from the cabin, nothing so now we know it's in the wire.  We pulled the light and plugged it into the wire I put in bypassing the mystery cord Crybaby put in the galley hatch... IT WORKED!  Crap, now this means the worst possible we have to run new wire through the galley hatch.  We gently tugged on the wire connected to our wire hoping we could pull it through and have an easy fix, nope the hole he drilled was too small and it was not going to work.  Okay a trip to the hardware store later and a wire feed in hand I snaked it in the hatch... nope, the holes he drilled were only big enough for those wires to come through and nothing more... great.  I took a step back, took some more medicine and thought this through.  I took the new wire and taped a long length of it to the mystery wire, held my breath and started to feed and pull it through. My heart stopped when it snagged on the hole and for a moment I didn't think it was going to work but then it popped through!  YAY!!  Some high fives, a happy dance, and a great big kiss to my hubby and back to work.  We connected everything again and flipped the switch and celebrated again when the light came on.

I even put in the wire for a vent fan for later down the road, and after installing a proper fuse for each load we turned to cleaning everything up and putting in the insulation.  I think the best purchase we agreed would have to be the magnet we got to clean up all the staples, the many, many, many, many staples.  Our final project, the insulation, a mold and bug resistant styrofoam purchased at Home Depot for $10 a sheet.  This is the easiest stuff to put in with just a knife to cut it along the lines they provide on the back side of each sheet, it just pops right in.  We had to call it quits with just the one sheet so my husband could go to work.


When we came in we were happy knowing we tackled this demon and on the road to having the beautiful trailer we paid for.  Looking back we should have just bought the kit and built the trailer ourselves because this is what we are doing now.

My next entry will be the rest of the insulation and cutting and fitting in new walls and ceiling.  This weekend we are heading to our first teardrop gathering, rain or shine, with our trailer as is… we may only have the insulation in but looking forward to meeting some new friends and getting some ideas.


 The new wiring in the cabin.

 This is where we started from (below), this mess of wires here is what we found behind the galley/cabin wall.

 You can see how he built the galley with only aluminum and 2.5mm plywood as the walls, you can also see the shelf that we had to take out and the last of the ceiling we removed.

Monday, March 17, 2014

So yesterday we had a professional teardrop builder come take a look at the trailer.  Good news it's fixable.  His quote, "It's better to spend a little money now to fix it right or you'll be chasing issues for years."  I cried.  I cried because he confirmed the lack of professionalism or quality.  His wife asked if we actually paid for the trailer.  She took one look at the trailer and said..., "Those stabilizers don't go to the ground do they?"  LOL  They have been in teardrops over 20 years and with first glance could see they don't reach.  I laughed because we were told that they aren't meant to reach the ground.  Please take notice of RVs and trailers with their jacks down..... you tell me if they touch.

So today we started with the cabin fixes.  We video taped as we have while we have done everything so that there is no confusion what you are seeing.  The photos speak for themselves but we have video documentation also.

So what did we find today....... I know you are all on pins and needles or more correctly with this trailer staples, lots and lots of staples.  Well the front nose cabinet was made up not only of 2.5mm plywood but here is how it was built.  First there was no frame to it at all, a 1x2 held to the sides with screws at the top and one at the bottom, then 2 pieces 2.5mm plywood not even cut straight and it did not even touch where it came together in the middle and stapled on.  The lid was poplar mostly 1x2 framed out and here he used white beadboard stapled on as the shelf part which fell apart the moment something was set on it.

The glue he did on the ceiling planks is a joke.  He used glue on the first 4 planks and then you can see in the photos there is hardly any glue if at all anywhere.  Now back when we ordered this trailer last August he made it a point to talk up about how he started in a trailer with no insulation and how cold it was and that is why he insulates All his trailers.  This was huge for us and we were happy because this was a big concern and I had seen that all the teardrop builds were doing the same and putting insulation in, google a build and see. There is no insulation in this trailer and in one corner you can see light shine through.  He left a hand full of the staples behind the 2.5mm plywood he put in as the ceiling base.  I can tell you this trailer is so cold!  We were up at the South Rim as a test camp and nearly froze because there wasn't insulation.  Insulation costs $10 a sheet at home Depot, according to builder blogs it takes 2 sheets to insulate a teardrop that is a total cost of $20 in materials.

The shelf I almost cried over, the bottom 2.5mm plywood that he stapled in ran into the galley.  What we thought was the frame was only a face held in by 2 screws one on each side.  This was where we stopped today.  Next weekend we are going to start our video blog as we fix the first run of issues.  We have to seal the roof vent this was were the cabin was leaking.  As we left the trailer today we sprayed for mold which had now formed under the mattress and around the ceiling vent.


Sunday, March 9, 2014

The Money Pit

Our first blog posting - Our Backstory

So this is new so I'm going to start with a bit of backstory, you can see video #1 on YouTube for more information and see photos on Pinterest which I will share the links below.

So our saga began last year after we returned from visiting my Pop back home in Missouri.  We decided to take the leap and purchase my little dream teardrop.  We looked at many vintage and used trailers and then after finding Crybaby Teardrop Trailers and seeing their work decided to have them build ours.  We signed the papers early August 2013.  The build was to take 2 months, after 7 long exhausting stress filled months we got our trailer..... this is wear this blog will begin.

Once finally home it rained and our trailer leaked, we contacted the builder and as it was under warranty we against better judgement took it back the 200 mile round trip to them to fix.  I can just tell you it was a disaster, the glue was slopped everywhere and the sides were now scratched.  Okay we sucked it up and set to work on fixing the mounting issues we were finding.  I started on the galley since it seemed to need the least work.  After taking apart the drawers and cabinets since they were warped and had 3/4 gaps in-between them I managed to scratch out a small happy place in our trailer.

We felt confident we could take it on a trip to test it and packed up the kids and headed to the South Rim of the Grand Canyon.  It was beautiful and we set up camp.  We lowered our stabilizer jack and encountered our first problem....they didn't even reach the ground.  It was a good thing we brought two sets of stacking blocks and that was almost not enough but we got it level and stable.

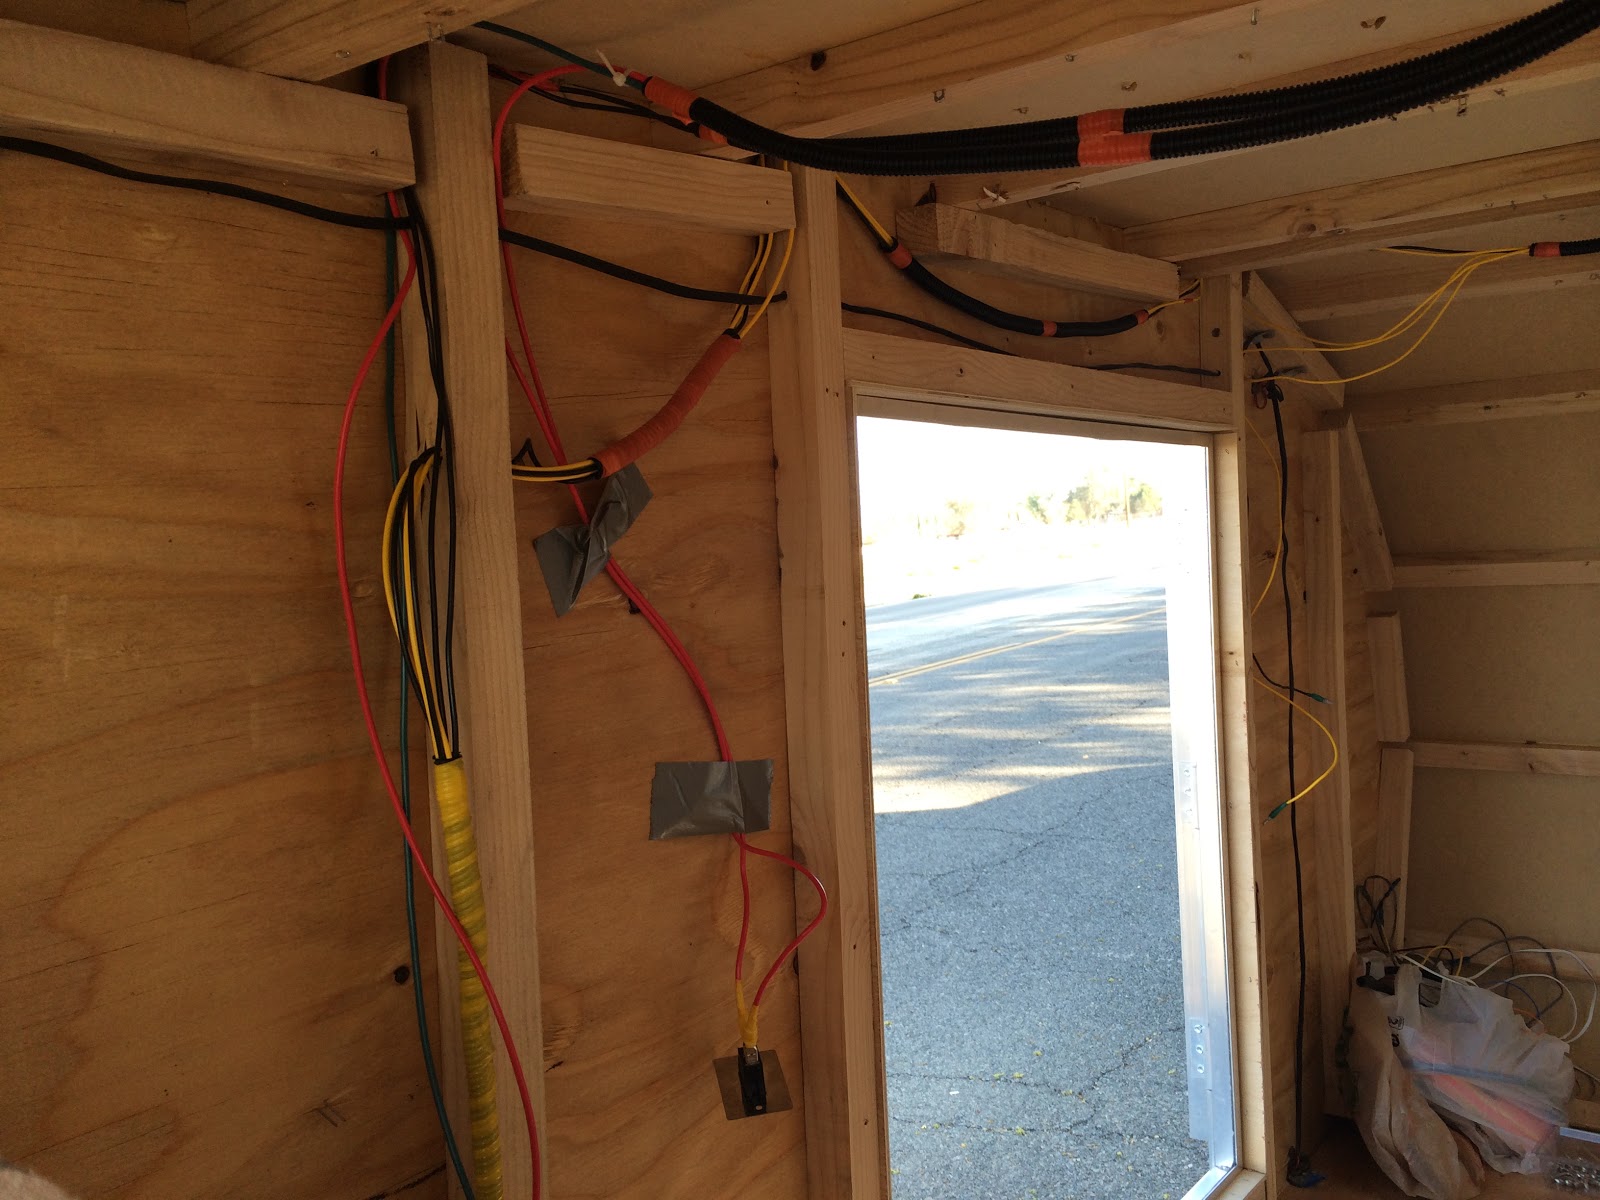
The first night we had a Pendleton blanket and another thick wool and fleece blanket on the bed, we covered the girls in the sleeping bags since they were sleeping in the FJ.  Oh Good Lord!!!  It was so cold I couldn't get warm all night.  We tipi camp all the time and I can tell you that is warmer than the tear was!  I hit my head repeatedly on the ceiling that was falling down, yep you heard me falling down in our new trailer.  At the midnight run to the restroom and back I had had enough and pulled the vinyl planks that were hitting me down.  The next morning I took a flashlight and looked behind the ceiling and walls, no insulation at all.  This was just another standard item included on our trailer build that was not.  I took every available blanket we had and added them to the bed.

The trip was wonderful despite these setbacks and I highly recommend you camp there at least once.  We share the camp with a large herd of elk and were visited by deer each morning.  We watched the ravens defeat the zippers and bags on other campers food leaving a mess of clothes and food to be cleaned upon their return.

On our return trip home one of the jacks backed itself down (these we found were car jacks not stabilizer jacks at all) and nearly ripped itself from the frame.  A bit of duck tape later we were back on the road.  Once home we turned back to our growing list of fixes on the trailer.  I kept messaging these issues to the builder but did not have confidence in him our his work quality to fix them right and we learned we were right during the next rain storm we had.  This time not only did the galley leak but so did the cabin, doors, and windows.  I climbed up and saw he left a seam directly behind the roof vent and he didn't seal it only pop riveted it.  So now our bed was soaked the glue holding the vinyl planks to the ceiling melted with the water and dripped on my vintage bedspread and chenille pillows and everything inside was a mess.  We secured a storage unit close by and moved our tear there out of the rain and left it open to dry out.

In all this mess we had upgrades we paid extra for that were never installed.  I sent a letter from an attorney for a refund on these items and waited.  Now through all this we were told on more than one occasion that our refund and galley bracket (they were mismatched on one was tweaked and rubbing) had been sent, first we were told it was in the form of a cashiers check then when we asked for a tracking number because it had not arrived we were told he had just sent a check instead.  Last week he messaged me and told me that they had spoken and agreed to refund us the monies owed for services not provided.  Wait, what happened to having sent it......yea we have been dealing with this since we put our deposit down last August.  We have not to this day been refunded for the slider windows, tongue shelf, or the sink all of which we paid for as upgrades to our build.

Since I last chatted with the builder we received the replacement support for the galley lid shocks.  I purchased it through the internet (tired of waiting for it from Crybaby) the same day the last time he said they were sending it and the check (last week).  It came from NY and made it here in 3 days, the check and replacement from Crybaby are coming from here in our state and still now here.  I'm sure he'll have another excuse as to why it's not here.

I'm not blogging to gripe about this trailer though I will keep you all updated on our issues we find and if they have paid us yet.  This blog is to document the repairs to the trailer and our journeys along the way.  Heck it's a teardrop.... they are never truly done right?

We took a couple weeks off just to reboot after being hit over and over with problem but next weekend we will be back at it stripping out the bad and replacing it with the correct materials.  I strongly urge anyone looking to have a trailer built make sure they are licensed, bonded, insured, and a reputable experienced teardrop builder.  There are many good builders and you can chat with other on the teardrop forums or by attending a teardrop gathering.

Check out the first of our video series on our trailer at:
http://www.youtube.com/watch?v=iFD8JW4SLCE&feature=youtu.be

You can see photos of the trailer at:
http://www.pinterest.com/tabithajeen/crybaby-teardrop-trailer/

My next post I'll show the before and after of our galley and how we fixed it.